Run an Analysis
Use this guide to submit your optimization problem to the solver and monitor its progress. The solver runs server-side -- your browser sends the problem definition and receives results as they stream back.
Prerequisites
Before running, verify your setup is complete:
- Design domain defined (parametric plate or STEP import)
- At least one input preserve with geometry and a path
- At least one output preserve with geometry and a path (some output subtypes like deformation-from-surface or deformation-step do not require geometry or a path)
- At least one fixed preserve or boundary condition
- A material assigned to the analysis
The specific validation requirements depend on the analysis type — see the validation tooltip section below for details.
Validation tooltip
The Run button in the secondary toolbar is disabled until all minimum requirements are met. Hovering over a disabled Run button shows a tooltip listing exactly what is missing. The validation checks depend on the analysis type:
Compliant mechanism (standard):
- Material assigned
- At least one input preserve with geometry and a direction path (not suppressed)
- At least one output preserve with geometry and a direction path (not suppressed). Output surface and deformation-step subtypes are exempt from the geometry and path requirements.
- At least one fixed boundary condition (not suppressed)
Flexure analysis:
- Material assigned
- At least one IO preserve with geometry (not suppressed)
- At least one fixed boundary condition (not suppressed)
Thermal compliant:
- Material (Young's modulus) set on the analysis
- At least one input preserve with geometry and direction (not suppressed)
- At least one output preserve with geometry (not suppressed)
- At least one fixed boundary condition (not suppressed)
If a solver job is already running or queued, the tooltip shows "Solver already running."
Suppressed objects (see Suppress Objects) are excluded from validation -- they do not count toward the minimum requirements.
Steps
1. Review your setup
Take a final look at the viewport. All preserves should be visible with correct positions and directions. Check the Design Settings and Analysis Settings panels for any unexpected values. You can also open the Properties Panel for the analysis object to see a summary of all solver parameters and linked preserves as a workflow checklist.
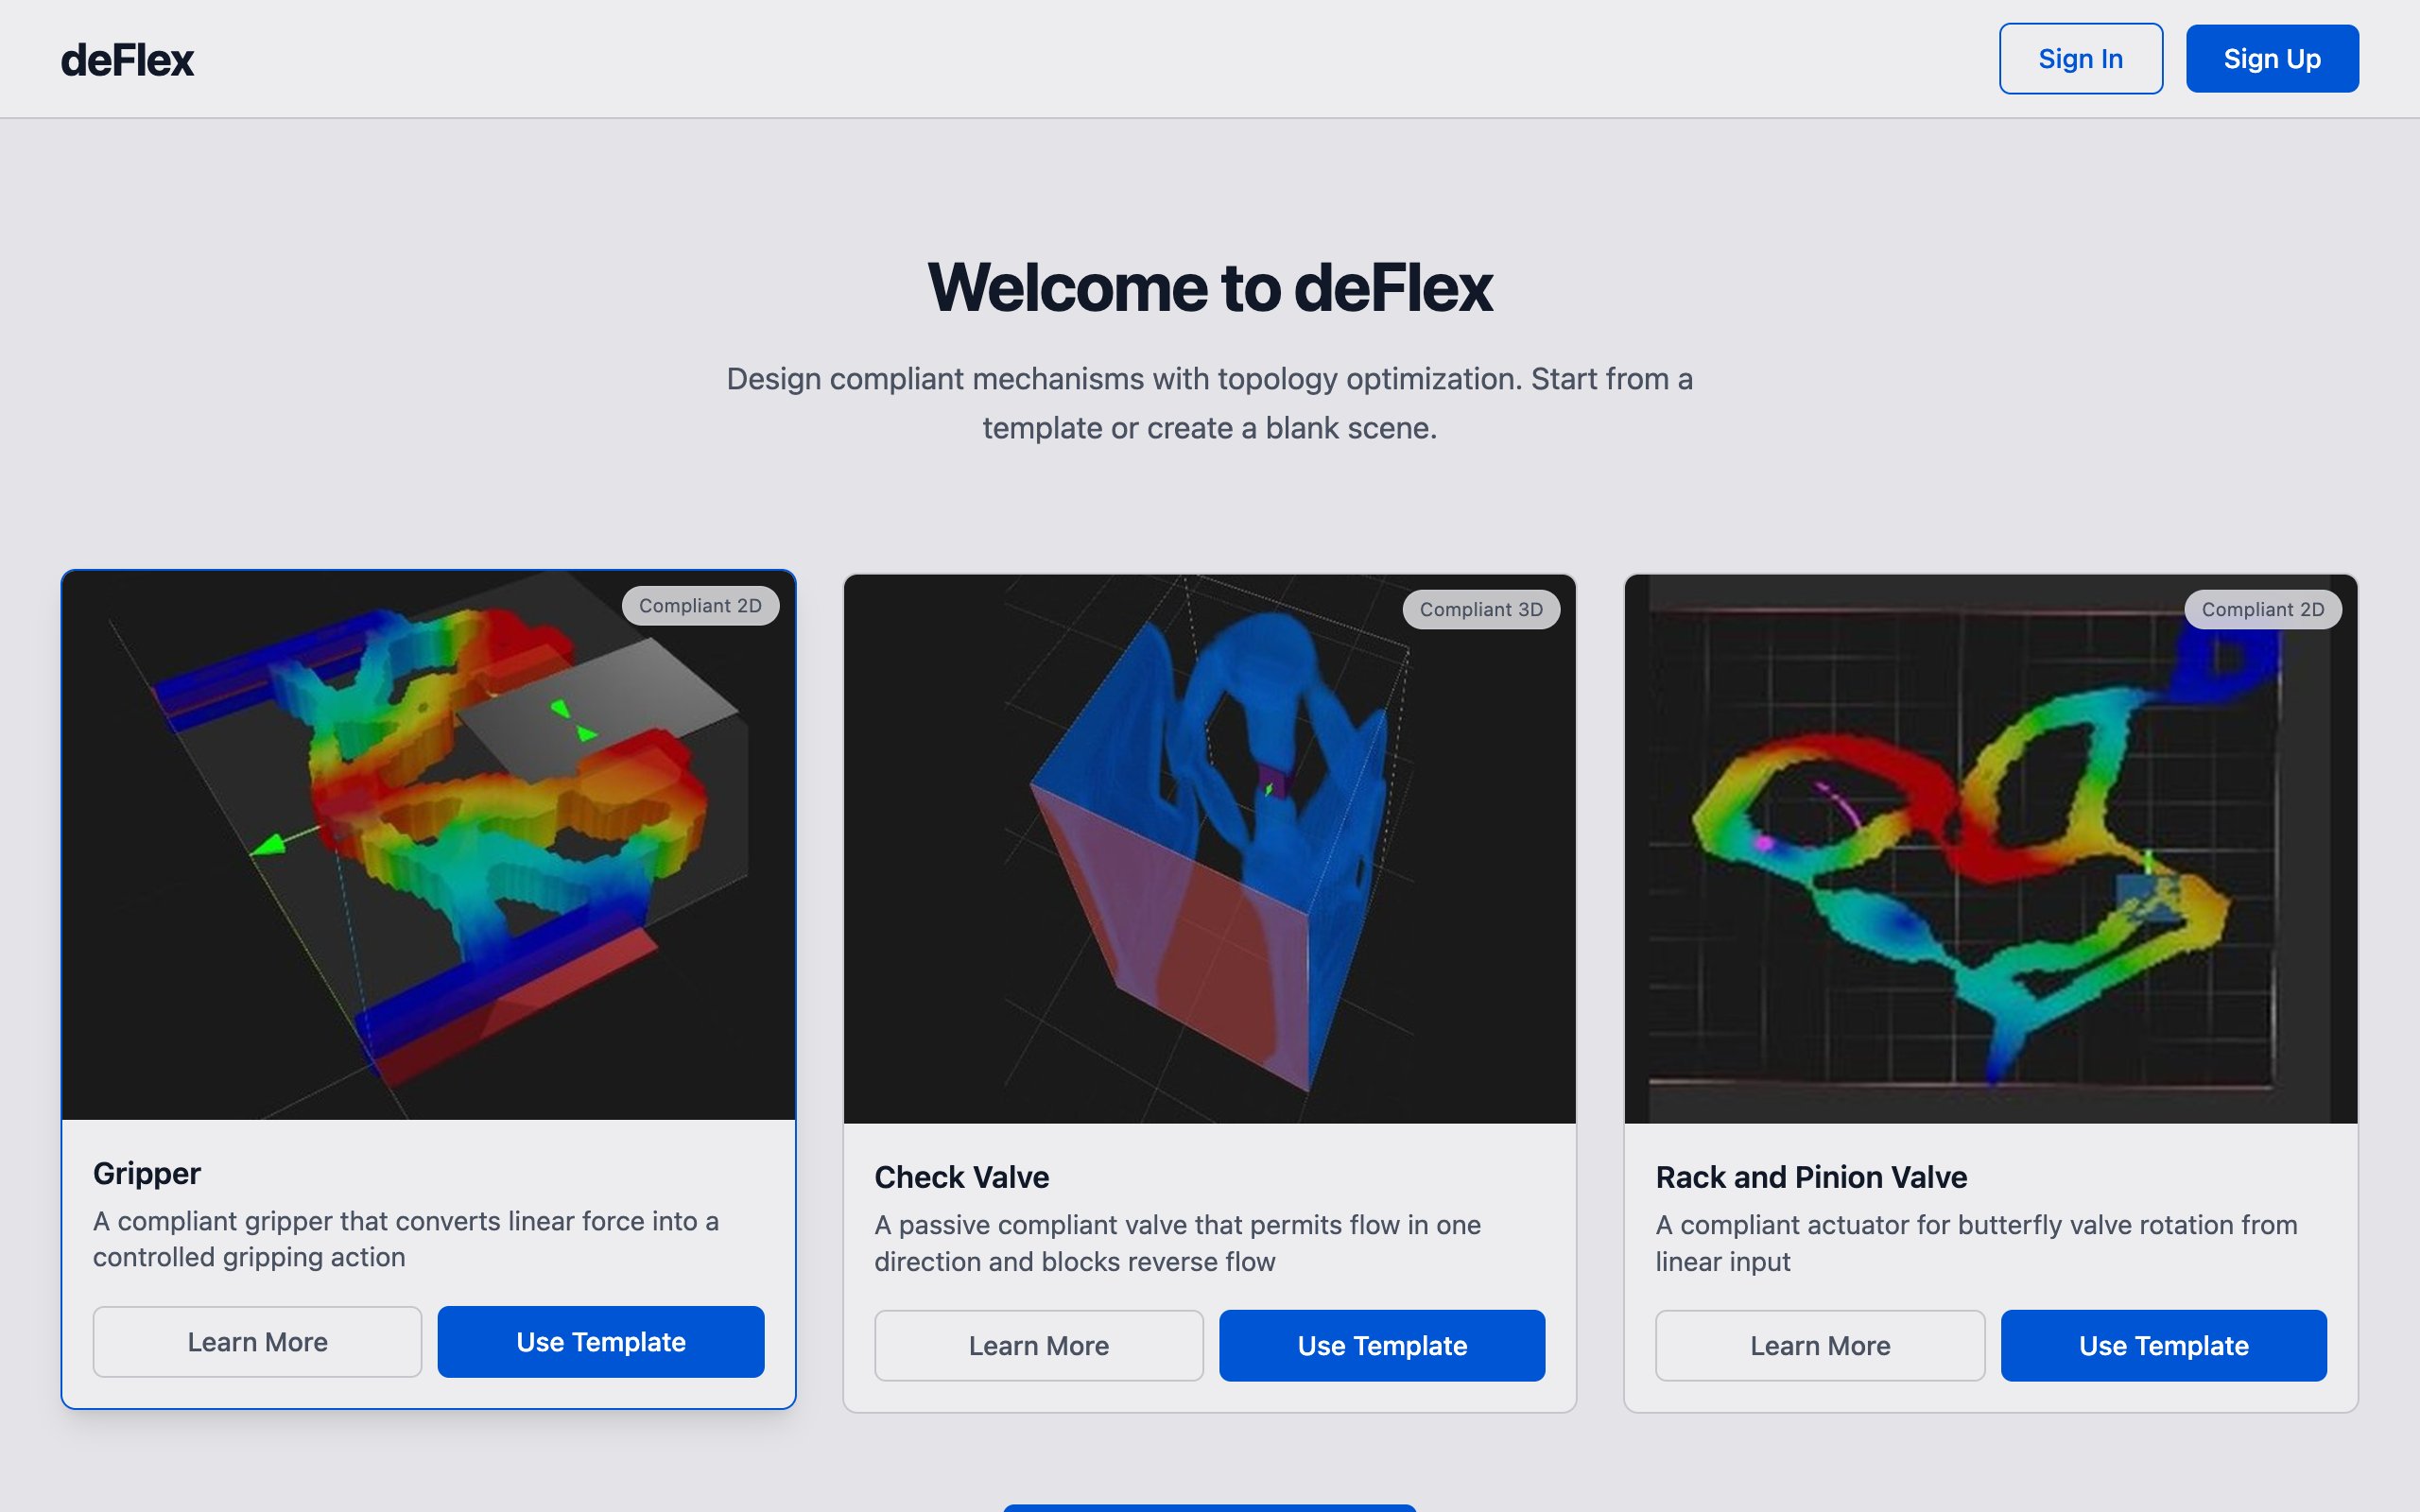
2. Click Run
In the top toolbar (secondary bar), click the Run button on the right side. If the button is grayed out, hover over it to see the validation tooltip listing missing requirements.
Once all requirements are met, the button turns active. Click it to submit the job. You can also press Ctrl/Cmd + Enter as a keyboard shortcut.
The button changes to a progress indicator. deFlex sends the problem definition to the backend, which queues it for a solver worker.
3. Monitor progress
As the solver iterates, deFlex streams results back to the browser in real time:
- Density field: The viewport updates to show the current material distribution. Dark regions are solid material; light or transparent regions are void. You can watch the topology evolve iteration by iteration.
- Compliance curve: The solver reports the compliance (performance metric) value at each iteration. A healthy run shows compliance decreasing and stabilizing.
- Volume fraction: Tracked per iteration, this should converge to your target value (e.g., 0.30).
- Iteration counter: Shows the current iteration out of the total (e.g., "23 / 60").
4. Wait for completion
The solver runs for the configured number of iterations (default: 60) or until the convergence tolerance is met. A typical 2D run on a 50x50 grid completes in under a minute. Larger meshes take longer.
You can continue to pan, zoom, and inspect the viewport while the solver runs. Do not modify preserves or analysis settings during a run -- changes will not take effect until the next run.
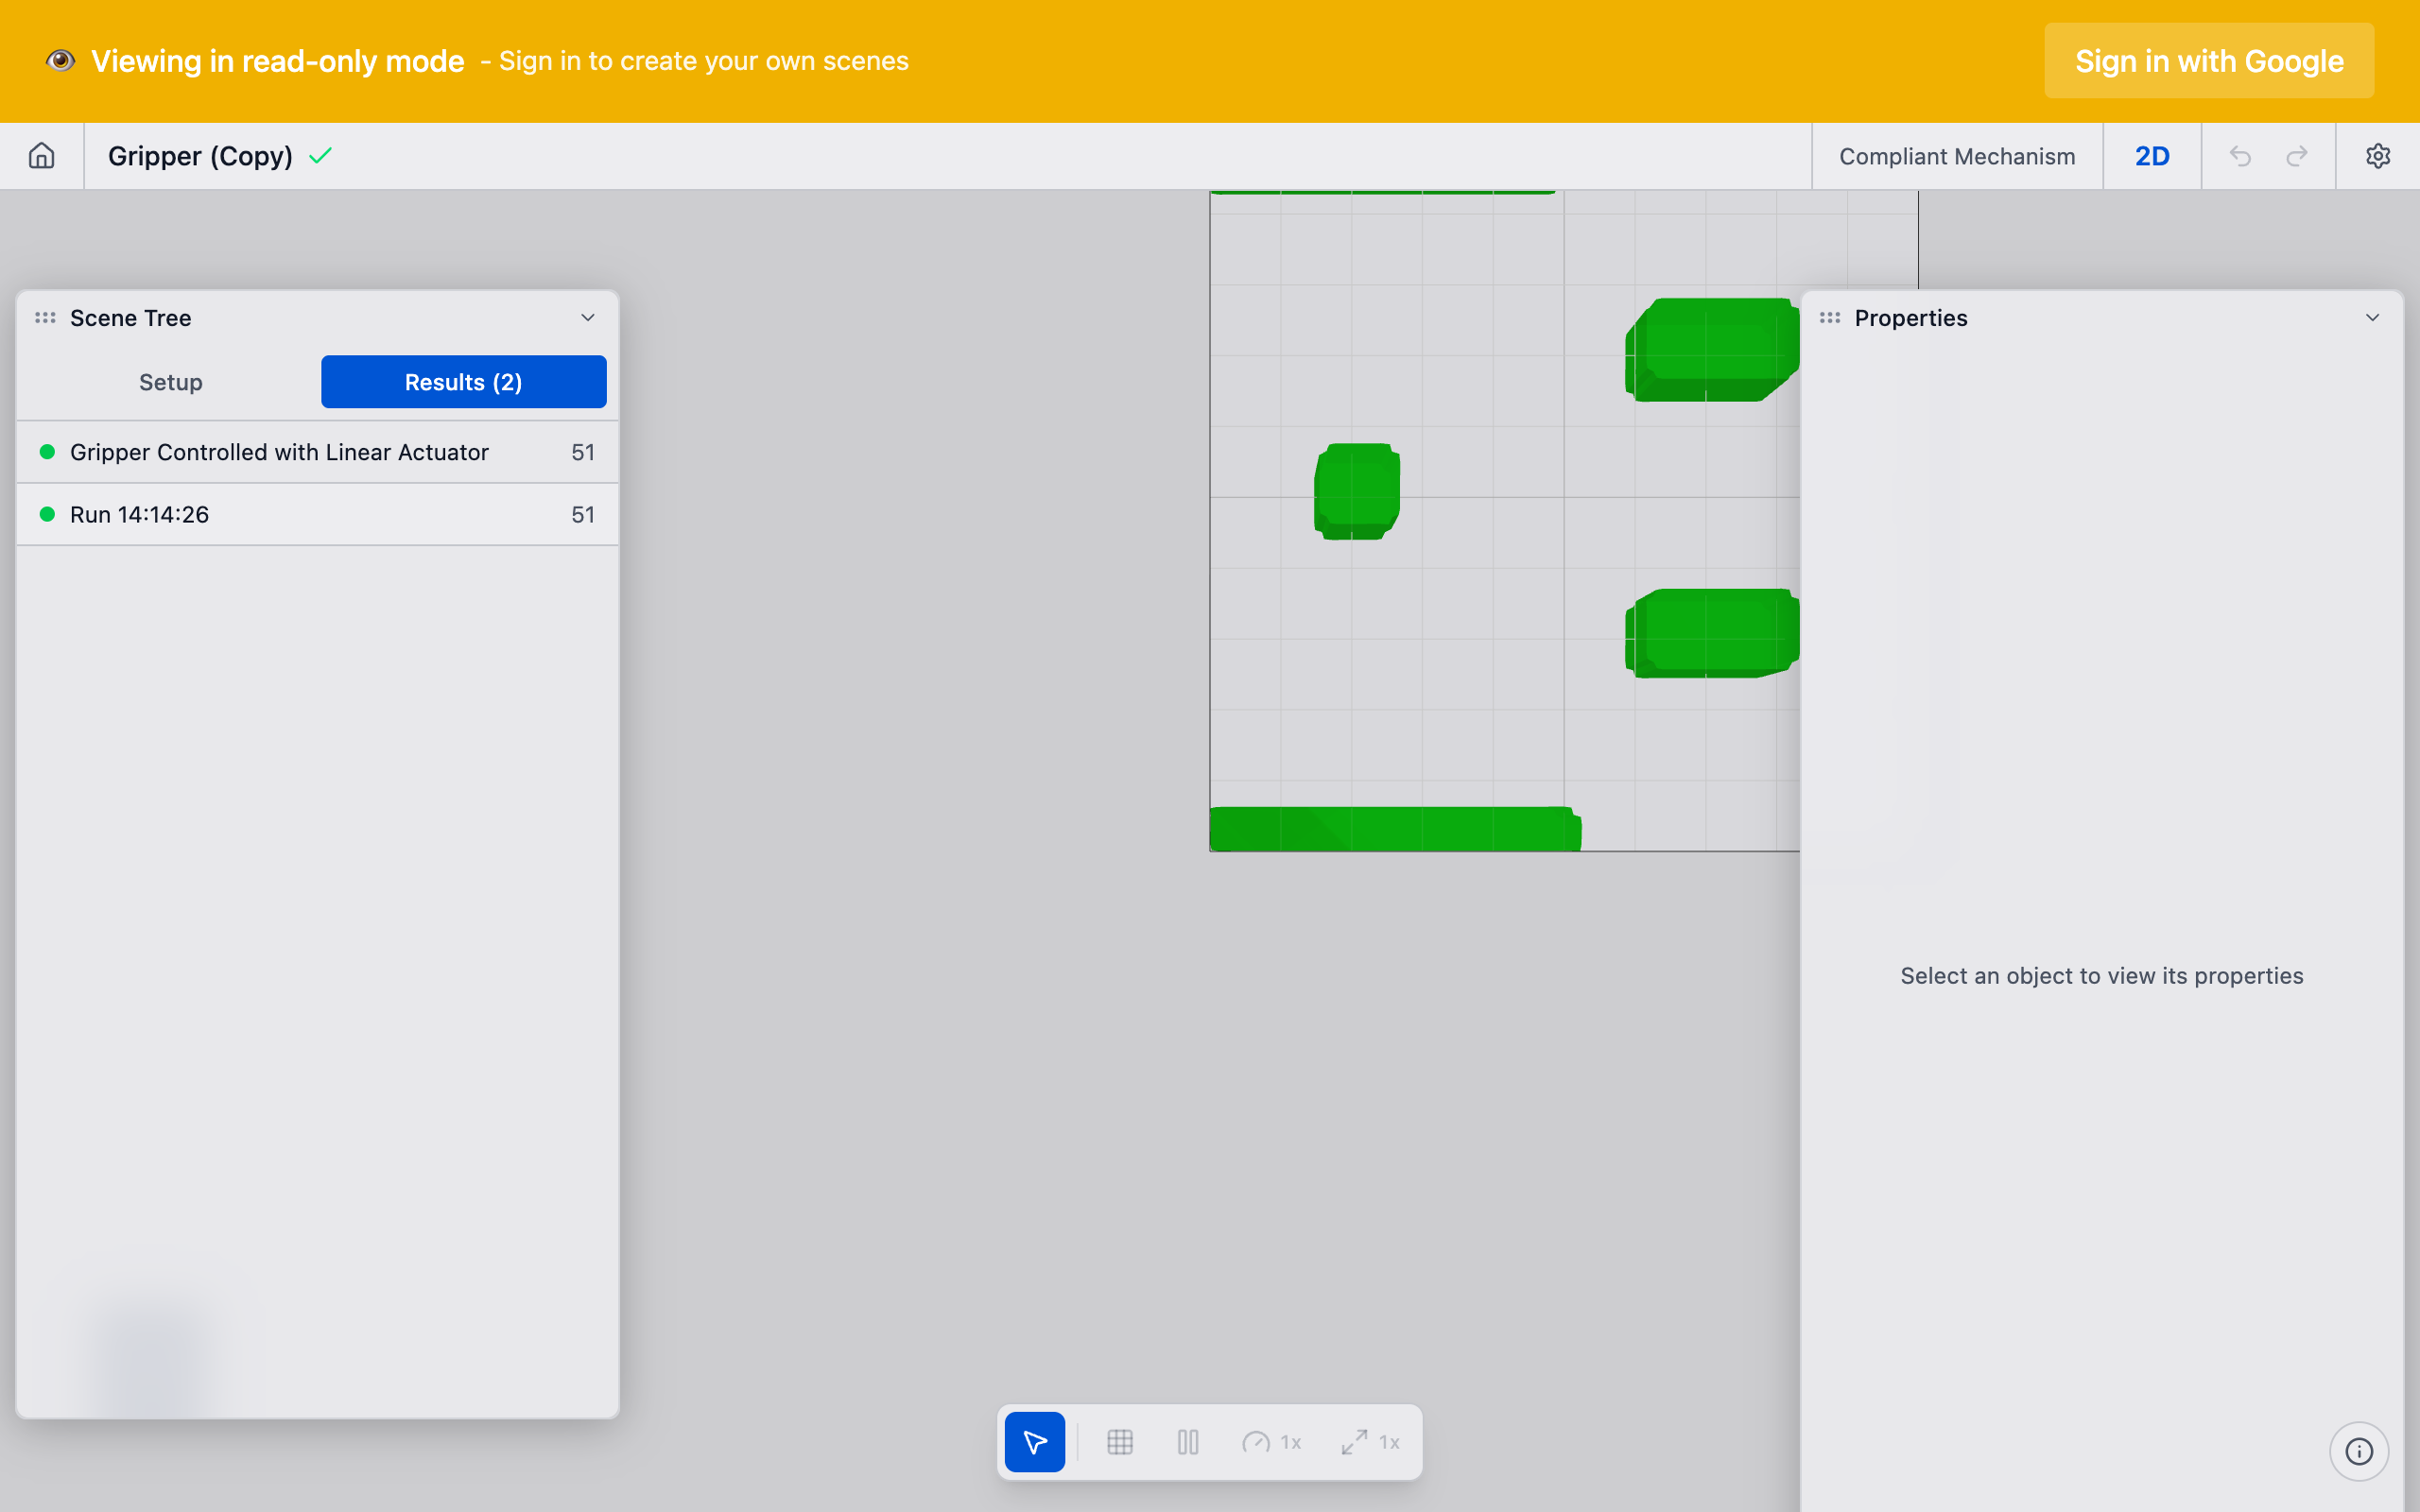
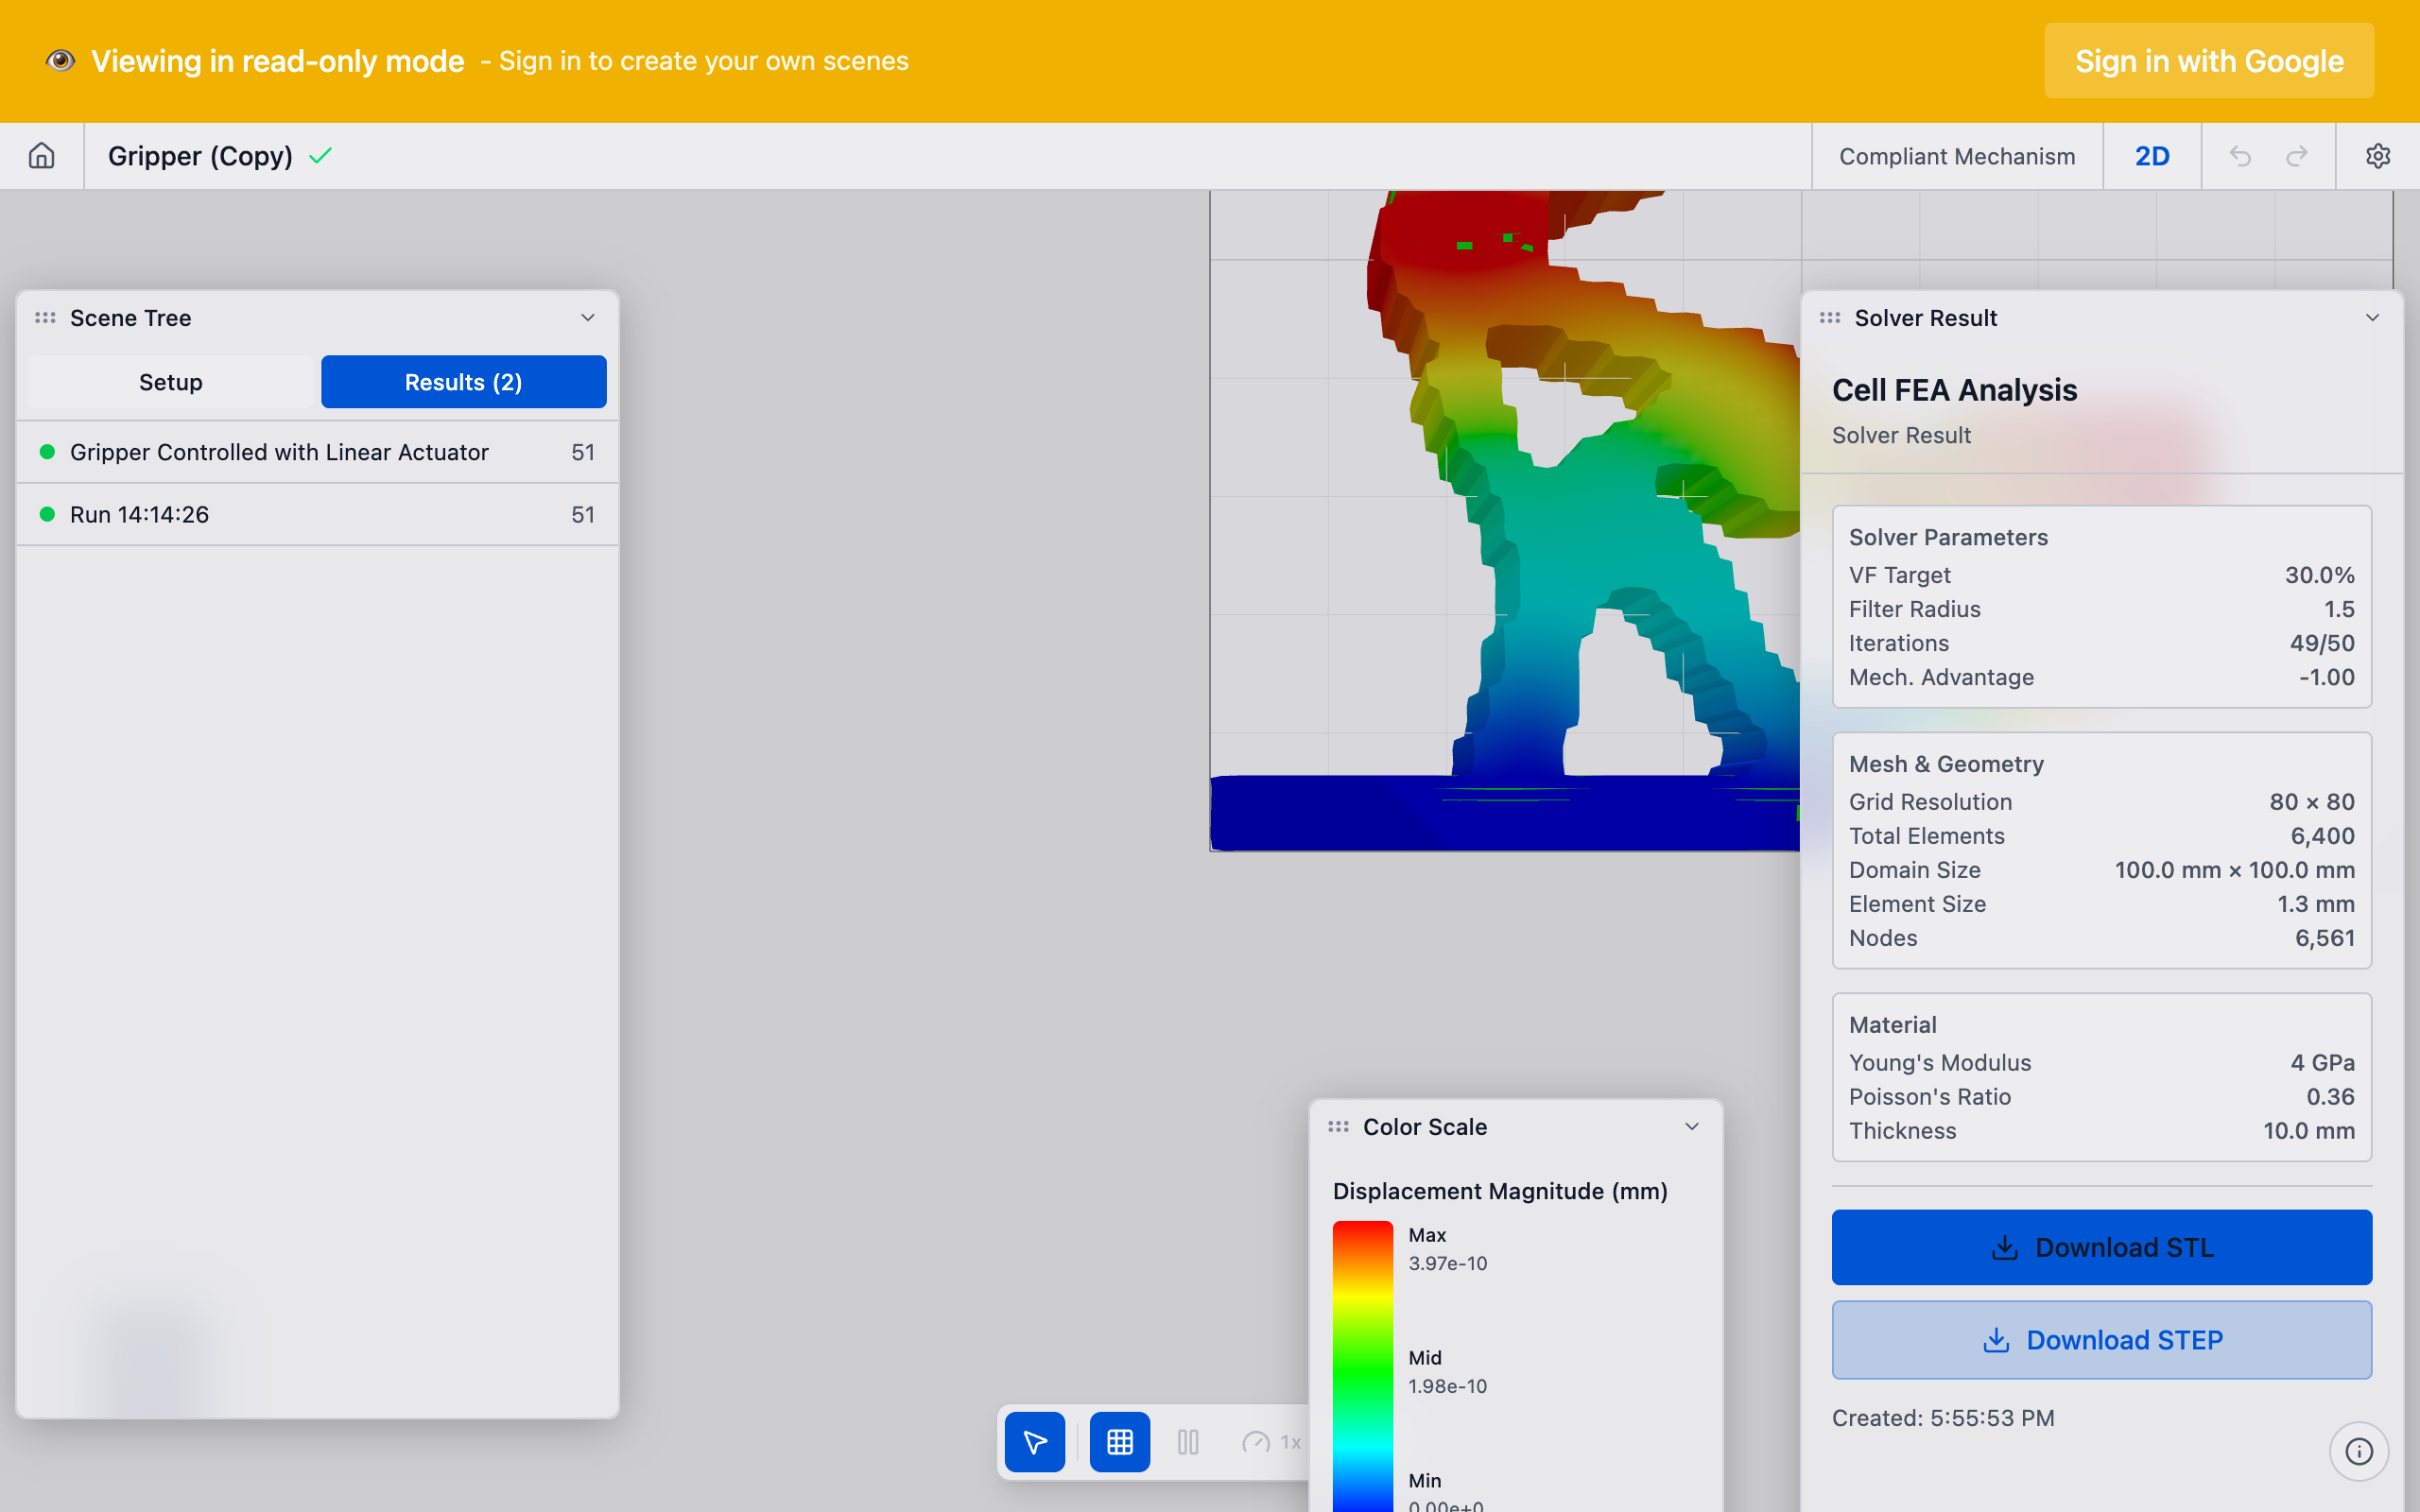
5. Review the result
When the solver finishes, the final optimized topology is displayed in the viewport. The run appears in the Solver Runs section of the sidebar with a summary of key metrics.
What happens server-side
When you click Run:
- deFlex packages your scene (domain, preserves, pairs, settings) into a solver job.
- The job is submitted to the backend API, which assigns it to a solver worker.
- The solver worker meshes the domain, assembles the structural analysis system, and runs the design optimization loop.
- After each iteration, the worker publishes the current density field and convergence data.
- Your browser polls for updates and renders them in real time.
The backend runs 5--10 solver workers in parallel. If all workers are busy, your job queues until one is available.
6. Fork or re-run (optional)
If the result is not satisfactory:
- Adjust and re-run: Modify preserves, volume fraction, or mesh resolution, then click Run again. Each run is saved separately so you can compare.
- Fork from an iteration: In the Solver Runs section, you can fork from any intermediate iteration to explore a different path.
Tips
- Do not refresh during a run. The browser maintains a polling connection to the backend. Refreshing the page reconnects, but you may miss intermediate iterations.
- Multiple runs: Each run is saved in the scene. You can compare different parameter configurations by examining the solver run history in the sidebar.
- Cancellation: You can cancel a running job. On the solver run card in the sidebar, use the cancel action to stop the run. The backend will terminate the solver worker.
- Backend restart caveat: If the backend is restarted during a run (e.g., during a deployment), the solver worker process is interrupted and the run will not complete. You will need to re-run.
What to do next
- Interpret results to understand the optimized topology
- Export results to take the design into your CAD workflow
- Check Solver Not Converging if the run failed or produced poor results