Import a STEP File
STEP file import is currently only available in Decoupled Thermal Flexure analyses. It is not supported in Compliant Mechanism scenes.
Use this guide when you have existing CAD geometry (a mounting plate, bracket, or enclosure cross-section) that you want to use as the design domain instead of a simple rectangle.
Supported formats
deFlex accepts .step and .stp files. The importer extracts 2D face geometry from the STEP model. Solid 3D bodies are supported -- you will select which face to use as the optimization domain after upload.
Steps
1. Open the STEP upload section
In the sidebar, locate the Base Plate STEP section. This section appears near the top of the sidebar in Decoupled Thermal Flexure analyses.
Click Upload Base Plate STEP.
2. Select your file
A file picker dialog opens. Navigate to your .step or .stp file and select it. deFlex parses the STEP geometry client-side to extract face and edge data, then uploads the file and parsed mesh to the server.
You will see a progress indicator: first "Parsing STEP..." while the geometry is processed locally, then "Uploading..." while the data is sent to the backend.
3. Review auto-detected bolt holes
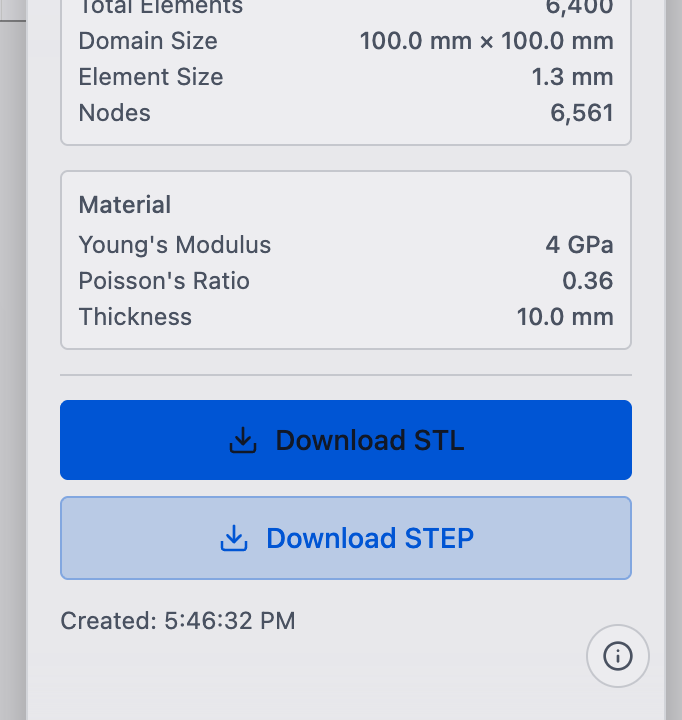
After upload, deFlex scans the geometry for circular holes and reports how many were found. If bolt holes are detected, input preserves are automatically created for each one, named Bolt A, Bolt B, etc. The design domain dimensions are also updated to match the bounding box of the imported geometry.
4. Select the computation face
For STEP files with multiple faces, click the Select Computation Face button. This enters face selection mode -- click a face directly in the 3D viewport. The selected face becomes the 2D domain on which the solver runs the optimization.
The button shows the currently selected face index (e.g., "Face #0"). A green highlight confirms a face is selected.
5. Toggle visibility (optional)
Use the eye icon next to the STEP section header to show or hide the base plate geometry in the viewport. This is useful when the imported geometry obscures preserves or solver results you need to inspect.
6. Remove or replace
To use a different STEP file, click the trash icon next to the STEP section header. This clears the current file and all associated data (face selection, auto-detected bolt holes). You can then upload a new file.
Tips
- File size: The backend accepts STEP files up to 50 MB. However, the parsed mesh JSON is limited to 10 MB. Very large or geometrically complex files may exceed the mesh limit even if the raw file is under 50 MB.
- Geometry complexity: The importer works best with prismatic geometry (extruded profiles, plates with holes). Freeform surfaces may produce unexpected face decompositions.
- Bolt hole detection: Only circular holes are auto-detected. Slotted holes or non-circular cutouts need manual preserve placement.
- Face count: If the importer reports "No faces detected," the STEP file may not contain valid B-rep data. Try re-exporting from your CAD tool with solid body output enabled.
What to do next
After importing your STEP file:
- Review and adjust the auto-created bolt pad preserves (see Configure Bolt Pads)
- Add output and fixed preserves for your optimization problem
- Confirm the design domain dimensions in Design Settings match what you expect